Show Ways Science is LIT
Try with your students...
How Are Rainbows Formed?
Materials
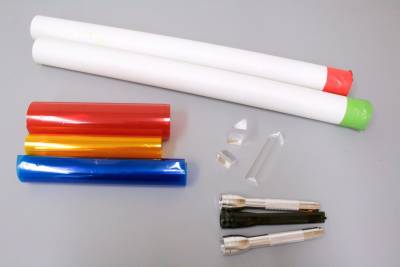
Corner Store Materials
- three flashlights
- three cardboard tubes e.g. poster tubes or wrapping paper tubes
- red, yellow, and blue cellophane
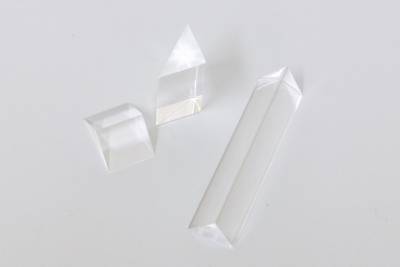
Laboratory Supplies
- prism
Experiment 1
Shine the light through the prism onto a piece of white paper. You may need to focus light by poking a small hole into a piece of cardboard with a pin and shining the light through it before it hits the prism.
What do you see happening to the light?
Experiment 2
- Cover one end of the three tubes (can use e.g. rolled up black cardboard) with translucent yellow, red, or blue cellophane. Keep the celophane in place with a rubber band.
- Hold the flashlight up to the open end of the tube (so the light shines down the tube and then through the cellophane) and pointing towards a white surface like a wall or ceiling.
What color light shines through each tube? Is this what you’d expect?
- Now combined the light circles.
What do you see when you combine the light circles? Explain.
The Color of Sunsets
Materials

Household Items
- Two identical transparent glasses
- Water
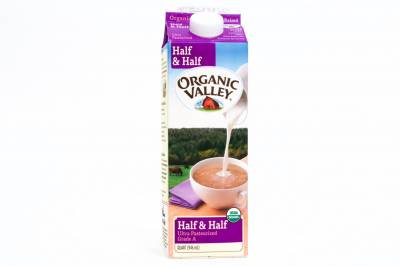
Corner Store Items
- Straw
- Milk

Laboratory Items
- Three or more prisms
- Laser pointer
Part 1: Observing Refraction
Experiment 1
Place the straw in the glass of water and look at where the straw meets the water. All scientist record their observations, so tell us what you see below:
What do you think is happening to the light to make us see the straw this way?
Experiment 2
Create a light maze by arranging prisms to bend the light from the laser pointer.
Once again lets record our observations about what the prism is doing to the light in the light maze you’ve made?
Part 2: Observing Light Scattering
Experiment 1
Add milk to one glass of water. Point the laser so that the light goes through the plain glass of water. Now compare it to the glass with the milk/water solution.
Can you see the laser light path?
Why do you think adding milk helps us see the laser light path?
Colorful Leaves
Materials
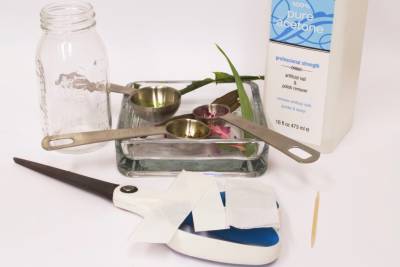
Corner Store Items
- A medium sized jar (approximately 10-12 cm tall)
- Binder clips
- Toothpicks
- Nail polish remover or rubbing alcohol
- Paper towels
- Pencil
- Ruler
- Saran wrap
- Scissors
- Wooden skewers
Outside Items (Environment)
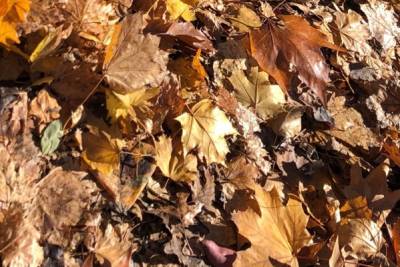
- Leaves, preferably both green and fall-colored leaves
Procedure
There are two ways to do this paper chromatography experiment. Students can either soak their entire paper strip in the plant-solvent mixture or can place a small dot of the solvent onto their paper strip.
*From our experience, soaking the entire paper strip in the mixture resulted in the most optimal experimental outcome, however, please feel free to try either (or both) protocol(s), and let us know which you prefer!
Extract Bath Method
-
- Place your plant sample into a small jar and add enough nail polish remover (solvent) to cover the leaves.
- Combine the plant sample with the solvent until a rich pigment appears. **Let it soak in for about 10 mins**.
- Another way of extracting rich pigment is to place the mixture into a hot water bath for about 3-5 mins.
- Cut a paper towel strip to the dimensions: 10cm (length) x 2-3 cm (width)
- Secure the paper towel strip to the binder clip and affix the wooden stick through the metal hole of the binder clip.
- Place the skewer (along with the binder clip and paper strip) on top of the jar.
- The strip should be inside the jar, with bottom (1-2 cm) soaking in the mixture.
- Make sure that the paper towel strip does not come in direct contact with the sides of the jar.
- Observe as the mixture runs up the paper!
- The pigment should separate into its different components as the solvent and sample mixture travel up the paper.
- This can take up to an hour!
Extract Dot Method
- Place leaf samples into a small container and grind until a dark green color appears (1-2 minutes).
- Adding small amounts of water may help the leaf pigment appear!
- Layer a paper towel vertically, against one side of a clean jar.
- This will allow the paper towel to absorb the solvent and slow the evaporation of solvent; thus serving as a wick.
- Add approximately 1 cm of nail polish remover (solvent) to the jar, and let sit for 10 minutes.
- Cut a paper towel strip to the dimensions: 10 cm (length) x 2-3 cm (width)
- Use a pencil to mark the paper towel strip approximately 2 cm from the bottom.
- Use a toothpick (or a coffee straw) to extract a small sample of the leaf mixture, and drop it onto the pencil dot.
- Let the moisture surrounding the pigment dot dry for a few minutes and when it does, add more pigment (leaf extract) to the center.
- Repeat this step twice to ensure that the pigment concentration in the middle of the dot is defined.
- After the mixture has dried, secure the paper strip with a binder clip and affix the wooden skewer through the metal hole of the binder clip.
- Rest the skewer (along with the binder clip and paper strip) on the top of the jar and insert the strip into the nail polish. Make sure that the paper towel strip does not come in direct contact with the sides of the jar.
- The portion of the paper strip below the pencil dot should be submerged in the solvent.
- *The sample dot should not touch the nail polish remover (solvent).*
- Loosely cover the top of the jar and the skewer with saran wrap.
- Observe as the solvent travels up the paper and separates the pigment into its components!
- In order to see how far the solvent has traveled, mark the end point on your paper towel.
- After it dries this becomes difficult to see!


