
Experiment with Food Fermentation
Explore the connections between microbes, biochemistry, and the foods we love through interactive fermentation activities.
N/A
Demonstrating Live Organisms In Fermented Foods
Background
Fermented foods receive their tangy flavors, shelf stability, and possibly even health benefits from the active presence of “good” bacteria and/or yeast. Use this assay to demonstrate how fermented foods are teaming with bustling communities of microbes.
Materials
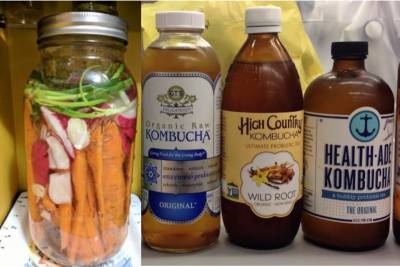
Corner Store: Grocery Items
- Purchase (and/or make) various fermented foods, e.g.
- fermented pickles (NOT vinegar pickles, those are different)
- kombucha
- yogurt
- kimchi
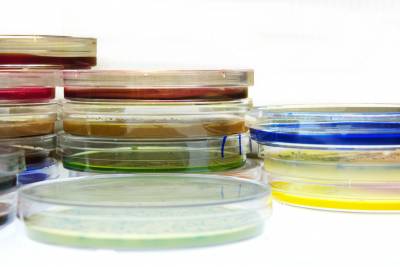
Laboratory Items
- Pre-poured agar plates (can be ordered online)
OR make your own using
- Petri dishes
- Agar powder
- Nutrient media (e.g. tryptic soy, LB, or bacto)
- OPTIONAL some of the fermentation medium (e.g. sweet tea for kombucha cultures)
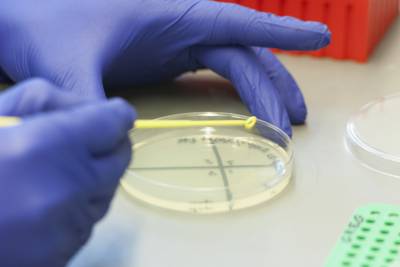
More Laboratory Items (Household substitutes in parentheses)
- Sterile pipette (straw, turkey baster, or medicine syringe)
- Sterile swabs or spreaders (cotton swabs from an unopened package)
- Test tubes or plastic tubes (skip if not available)
- Flame or bunsen burner (candle)
- Hot water bath or heat block (pan of boiling water)
- Sharpie marker
- Gloves (optional)
Procedure
Be sure to use aseptic technique, described in more detail below, while conducting all aspects of this preparation. Pre-made agar plates can be purchased from a variety of vendors, or made on your own (see recipe below).
- Collect the number of agar plates you will need, and label each with a sharpie marker to include your initials, date, ferment being plated, and the phrase “DO NOT OPEN”.
- Set up 2 tubes per ferment you plan on testing, and label each tube accordingly.
- Tube A will be prepared at room temperature.
- Tube B will be boiled before plating.
- For each ferment being tested, transfer approximately 1ml of fermentation liquid to Tube A, and 1ml of ferment liquid to Tube B.
- Each time you go to transfer materials from the source to a tube, or from tube to tube, be sure that the transferring instrument is sanitized each time, or use a new sterile transfer pipette.
- Keep set A tubes on the countertop. Boil sample set B for 10 minutes by placing the tubes in boiling water or a heat block set to 100 °C.
- by boiling the ferment, you are presumably killing all of the microbes present.
- Pour the liquid in each tube onto the correspondingly labeled agar plate.
- Spread the liquid culture evenly around the agar plate using a sterile swab or cotton swab.
- Return the lid to the agar plate, and allow the liquid to dry.
- Turn the plate upside down (so that the agar side is up) and leave on the countertop to grow for 1-4 days.
- Record observations, room temperature, and other factors that may be relevant.
- At the end of the growth period, compare the difference between Tube Set A (unboiled) and Tube Set B (boiled).
Do you notice a difference between the unboiled and boiled ferments after plating?
Measuring the Change in pH During Lacto-Fermentation
Materials
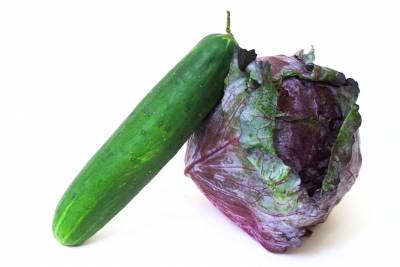
Common Items
- Water
- Choose one or more fermentable veggies, e.g.
- Cucumber, Cabbage, Carrots, Peppers, Beets, Green Beans
- Salt (culinary preference is Grey Celtic Sea Salt, but any table salt will work)
- Jar with lid
Laboratory Items (Kitchen substitutes in parentheses)
- Sterile Dropper (straw, turkey baster, or medicine syringe)
- Triple Beam Balance or Digital Scale (teaspoon measure)
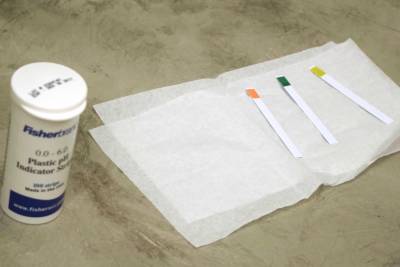
- pH Paper (can be ordered online)
Procedure
- Turn your sterilized jar on its side. Start loading vegetable spears into the jar, being sure that the length of vegetable pieces is shorter than the height of your jar
- Add approximately 20g of celtic sea salt (salt volumes vary, but if you cannot measure by weight: 5 tsp celtic sea salt, 5 tsp table salt, 6 1/4 tsp kosher salt) per pint of pickling volume (scale this if your jar volume is significantly different)
- Fill the jar to the very top with water.
- Cap it with the sanitized lid, and swish the liquid around a bit to mix the salt in.
- Remove the lid, and take a small drop of liquid out (using sterile dropper) and transfer to a pH strip. Record pH — this is time zero. Return lid.
- Continue measuring and recording pH using sterile dropper on a daily basis to understand how pH changes during the lacto-fermentation process.
- At the end of 2 weeks, the vegetables should be nice and crispy and ready to eat!
Testing Substrate Specificity in Yeast Fermentation
Materials
Common Items
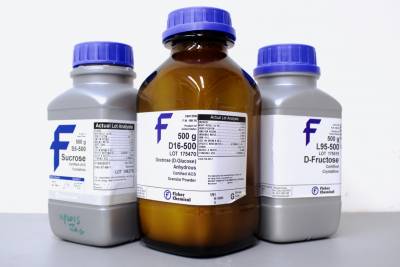
- Various sugars (try health food stores or online for the widest selection)
- Dextrose (glucose), Galactose, Lactose, Maltose, Sucrose (table sugar)
- Baker’s Yeast Packets
- Water
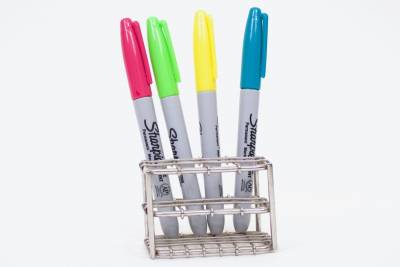
- Markers
- Balloons
- Tubes or Jars
Laboratory Equipment
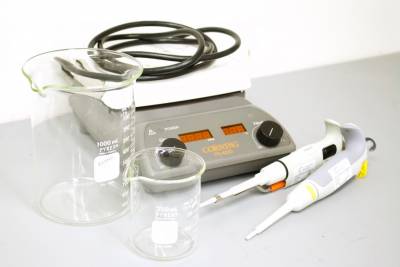
- Water bath, hot plate, or pan & stove
- Beakers or flat-bottomed bowl/baking dish
- Timer
- Micropipettes & tips, transfer pipettes (or straws or medicine syringe)
- 15mL Conical Tubes and a needle OR test tubes and glass slides to cover
Protocol
- Fill 15ml conical tube with 8ml of a sugar solution
- Mix the 7% yeast solution to be a uniform suspension. Fill the remainder of the tube (~7ml) with yeast solution such that the meniscus rises above the lip of the tube.
- Replace cap onto tube — because of holes, there will be a small squirt of solution to come out.
- NOTE: make sure that there are no sizeable air bubbles in the tube
- Invert the tube, and place in a large beaker filled with water (preheated to 40 °C). Place this beaker into a water bath or onto a hot plate to maintain temperature
- NOTE: you can also test the effect of temperature on fermentation by adjusting temperature of water bath or hot plate
- Immediately mark the bottom of the CO2 bubble (if there is one). Mark this point at 5 minute intervals for 30 minutes.
- At the end of the experiment, record the level of CO2 produced at each time interval by emptying the tube, filling with water to the mark, and pouring the water into a graduated cylinder or onto a balance for accurate measurement
What conclusions can you draw about the metabolism efficiency of different substrates by S. cerevisiae?
Which Sugars Do Yeast Prefer?
Materials
Foods
- 40% w/v: sugar and starch solutions e.g. glucose (corn sugar), fructose, sucrose (table sugar), starch, etc.
- Baker’s Yeast Packets (7% w/v in water)
Consumables
- 15mL Conical Tubes
- Needles
- Markers
- Pipette Tips
Equipment
- Water Bath or Hot Plate
- Beakers
- Timers
- Micropipettes
Procedure
- Fill 15ml conical tube with 8ml of a sugar solution (recommended starting concentration is 0.5%, v/v)
- Fill remainder of tube (~7ml) with 7% yeast solution such that the meniscus rises above the lip of the tube.
- NOTE: stock yeast solution should be agitated before adding to tube
- Replace cap onto tube — because of holes, there will be a small squirt of solution to come out.
- NOTE: make sure that there are no sizeable air bubbles in the tube
- Invert the tube, and place in a large beaker filled with water (preheated to 40 °C). Place this beaker into a water bath or onto a hot plate to maintain temperature
- NOTE: you can also test the effect of temperature on fermentation by adjusting temperature of water bath or hot plate
- Immediately mark the bottom of the CO2 bubble (if there is one). Mark this point at 5 minute intervals for 30 minutes.
- At the end of the experiment, record the level of CO2 produced at each time interval
Which substrate(s) did the yeast ferment fastest? Which substrate(s) allowed for the greatest total fermentation?
Based on your results, what does this tell you about the important bonds in sugar and starch molecules?
Which of these food molecules are in your egg sandwich? How do you think your body compares to the yeast when trying to digest these sugars and starches?
Experiment with Fermentation using Kombucha
Background
Kombucha, which comes from Japan, is possibly completely misnamed as kombucha refers to tea from kombu (kelp) rather than a fermented tea beverage (which has another name in Japanese)—nevertheless it stuck, and seems to be here to stay. The kombucha live ferment also goes by several names: SCOBY (symbiotic colony/culture of bacteria and yeast), mushroom, mother, or pellicle (the scientific term).
Kombucha is made from tea (often green or black) and sugar (often refined table sugar, but other sugar sources such as maple sugar/syrup can be used so long as they still provide glucose and fructose to the culture) mixed with a small amount of active culture (SCOBY disc and/or liquid culture). This is left to ferment for around one – two weeks, after which time it can be moved to a bottle, mixed with added sugar and flavor sources, and sealed in order to carbonate the final beverage over the course of another few days.
SCOBYs vary in physical appearance and DNA analysis of the microbes present suggests variation in genera and species between different cultures. The yeast component is mostly Zygosaccharomyces—a wild yeast that tolerates high concentrations of alcohol, low pH, and other often-limiting environmental conditions—and this seems to be mostly stable between different cultures. The bacterial component shows more variation, including representation from Acetobacter and Gluconacetobacter—to turn ethanol into acetic acid (giving the sour, vinegar flavor)—as well as Lactobacillus—lactic acid-producing bacteria—in some instances. These are all genera and the specific species present definitely vary between cultures. It is not yet clear how dependent particular species are on one another and is the subject of current laboratory research.
The yeast is responsible for turning the initial sugar into ethanol and carbon dioxide, while the bacteria turn the ethanol into acetic acid. Initial studies suggest that the yeast is responsible for colony formation, while the bacteria secretes the cellulose matrix to produce the microbial mat or biofilm (often referred to as the SCOBY) that keeps the organisms organized and floating at the surface of of the fermenting tea.
Materials
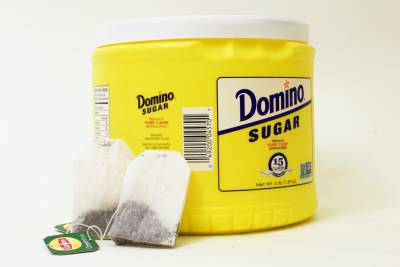
Common Items
- Green or Black Tea Bags
- Table Sugar (Sucrose)
- Spoons
- Jars (with loose covers)
- 1L measuring cup or beaker
- Thermometer
- Hot Plate or Tea Kettle
- Triple Beam Balance, Digital Scale, or Measuring Cup
- Sanitizing Equipment (Dishwasher or Bleach or Starsan)
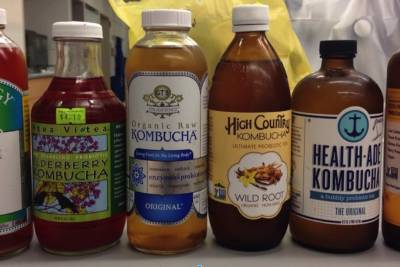
Specialty Items
- Kombucha starter culture, which can come from any of the following:
- Order a culture from an online site e.g. Etsy.com
- Get a culture from a friend (email RockEDU 😉)
- Use the last inch of a store-bought bottle that you like
Preparing the liquid media
- Clean and ideally sanitize equipment (e.g. dishwasher or chemical sanitizer—bleach, StarSan, etc.)
- Brewing Container: 1 L container e.g. pyrex beaker, wide mouth ball jar, or measuring cup
- Spoons (2; one for sugar, one for stirring tea)
- Thermometer
- Storage Container (size depends on how much broth will be left over e.g. the difference between the volume of your storage jars and 1 L; container should seal with a lid)
- Heat 1 L water to boiling (e.g. use an electric kettle, pot on the stove, or beaker on a hot plate)
- Pour ~850 ml of water into the Brewing Container. Let cool to 170F.
- Add 3 bags of green (or black) tea (~6g tea) and let steep for 10 minutes.
- Tug on bags 10 times to disperse the brewed tea. Discard tea bags.
- Add 150 g sucrose (table sugar; ¾ C) and stir until dissolved.
- Bring the water up to 1 L with the excess boiled water.
- Cool to room temperature (in a fridge (~30 min), freezer (keep a close eye on it), or on the counter overnight)
- Label the brewed tea/sugar mixture, and use to start your kombucha culture.
- Note: this is a good stopping point as the sugar-tea can be stored for several weeks in a sealed container if good sanitation was followed.
What experimental question do you have in terms of how something might affect the production and composition of kombucha?
How will you test this?