Setting Up and Maintaining a Wild Yeast Culture
Yeast are a common model system because they are one of the simplest eukaryotic organisms that exist. Yeast are not only common in labs, they’re common all over. Explore where you want to source your yeast by learning more about finding wild yeast.
Materials

Common Items
- Sharpie
- Notebook

Corner Store: Kitchen Items
- 2 Jars with Lids
Corner Store: Grocery Items
- Pasteurized Apple Juice
Set up and Maintain your Wild Yeast Cultures
The first step in setting up your cultures is to ensure that your culturing vessels and workspace are sterile and clutter free.
Considerations Concerning Materials:
-
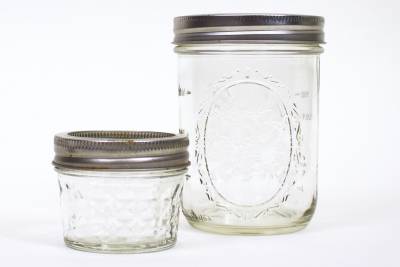
- Choosing your culture containers: We have been using 4oz ball jars as culturing containers with great success, however, there are no single “right” containers for culturing. When choosing a vessel, aim for a) something that is glass; b) something that can be covered, but still allow for airflow (ensuring that the cover, too, is clean and sterile); c) is the right size for your intended use.
- [Note from Jeanne] As mentioned in previous sections across this website, yeast are facultative anaerobes, meaning that they can survive in both aerobic and anaerobic conditions. However, because more ATP can be generated through aerobic respiration (as opposed to fermentation), it’s important to make sure there is ample air space for gas exchange. When filling you vessel with media, do not fill beyond ⅔ vessel capacity to leave enough space.
- Choosing your media: Finding the right culture media for each cell type is a science in and of itself. As such, we are finding that pasteurized apple juice — given its nutritional makeup — is a more than suitable medium for culturing wild yeast. However, apple juice is merely a suggestion! Feel free to experiment with other possible media types to establish some baseline assessments.
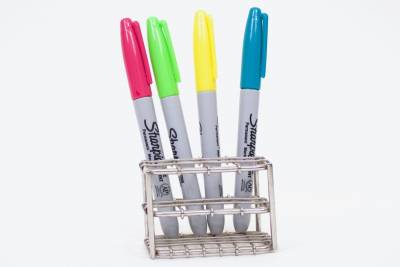
- Label! Use a sharpie or similar marker to label and date each container. In fact, you should label and set everything up before you start creating your cultures!
- Always set up a “blank.” We want to be sure that any growth we see in our cultures is actually from our culture input, and not because our media is contaminated. A blank — a jar that has only media and no culture input — will help keep you abreast of the dependability of your selected media!
- Notekeep! Ensure that you are writing down everything about your setup in your laboratory notebook. This should include details like the date, number of samples, description of culture inputs, media type and volume used in each jar, time cultures were set up, general observations like the temperature of the room being used to set up cultures.
- Plan! Make a plan to check on your cultures every day to measure, make observations, and just make sure things are moving along.
- Choosing your culture containers: We have been using 4oz ball jars as culturing containers with great success, however, there are no single “right” containers for culturing. When choosing a vessel, aim for a) something that is glass; b) something that can be covered, but still allow for airflow (ensuring that the cover, too, is clean and sterile); c) is the right size for your intended use.
Ready, Set, GO!
Once you’ve made the decisions required to get to this point, simply drop your culture input into the jar containing media. Cover the jar, but make sure that you are still allowing for gas exchange.
As the culture begins to “bloom,” you will see the media become increasingly cloudy. There might also be some bubbles, and a sweet-ish smell. After a while (days and beyond), you may see the accumulation of microbial cells at the bottom of your jar (it will become disturbed if you gently swirl the jar).
Now what? How to Maintain your Culture
To maintain your cultures in the short-term you should leave your culturing vessels on a flat surface, such as a table or dresser that is a relatively undisturbed location. At least once per day, look closely at each vessel for signs of yeast growth, that the lid is not too tight (gas exchange is taking place!), and for signs of possible contamination of other microbes (such as stuff that is green and fuzzy). If you do see contamination, add a little bleach to the culture vessel, then dump it down the drain while running the water for a minute to two.
To maintain your cultures for the long-term, simply secure the lid of the culturing vessel and pop it into the fridge. Usually cultures will maintain in the fridge for a couple of weeks or months. Perhaps this is something you might want to figure out!
